Are you ready to take your landscape photography skills to the next level? Whether you’re a beginner, just starting out, or a pro landscape photographer looking to refine your technique, mastering the exposure triangle is essential for capturing stunning landscape shots.
Why do I even care about the exposure triangle in the first place (short story)
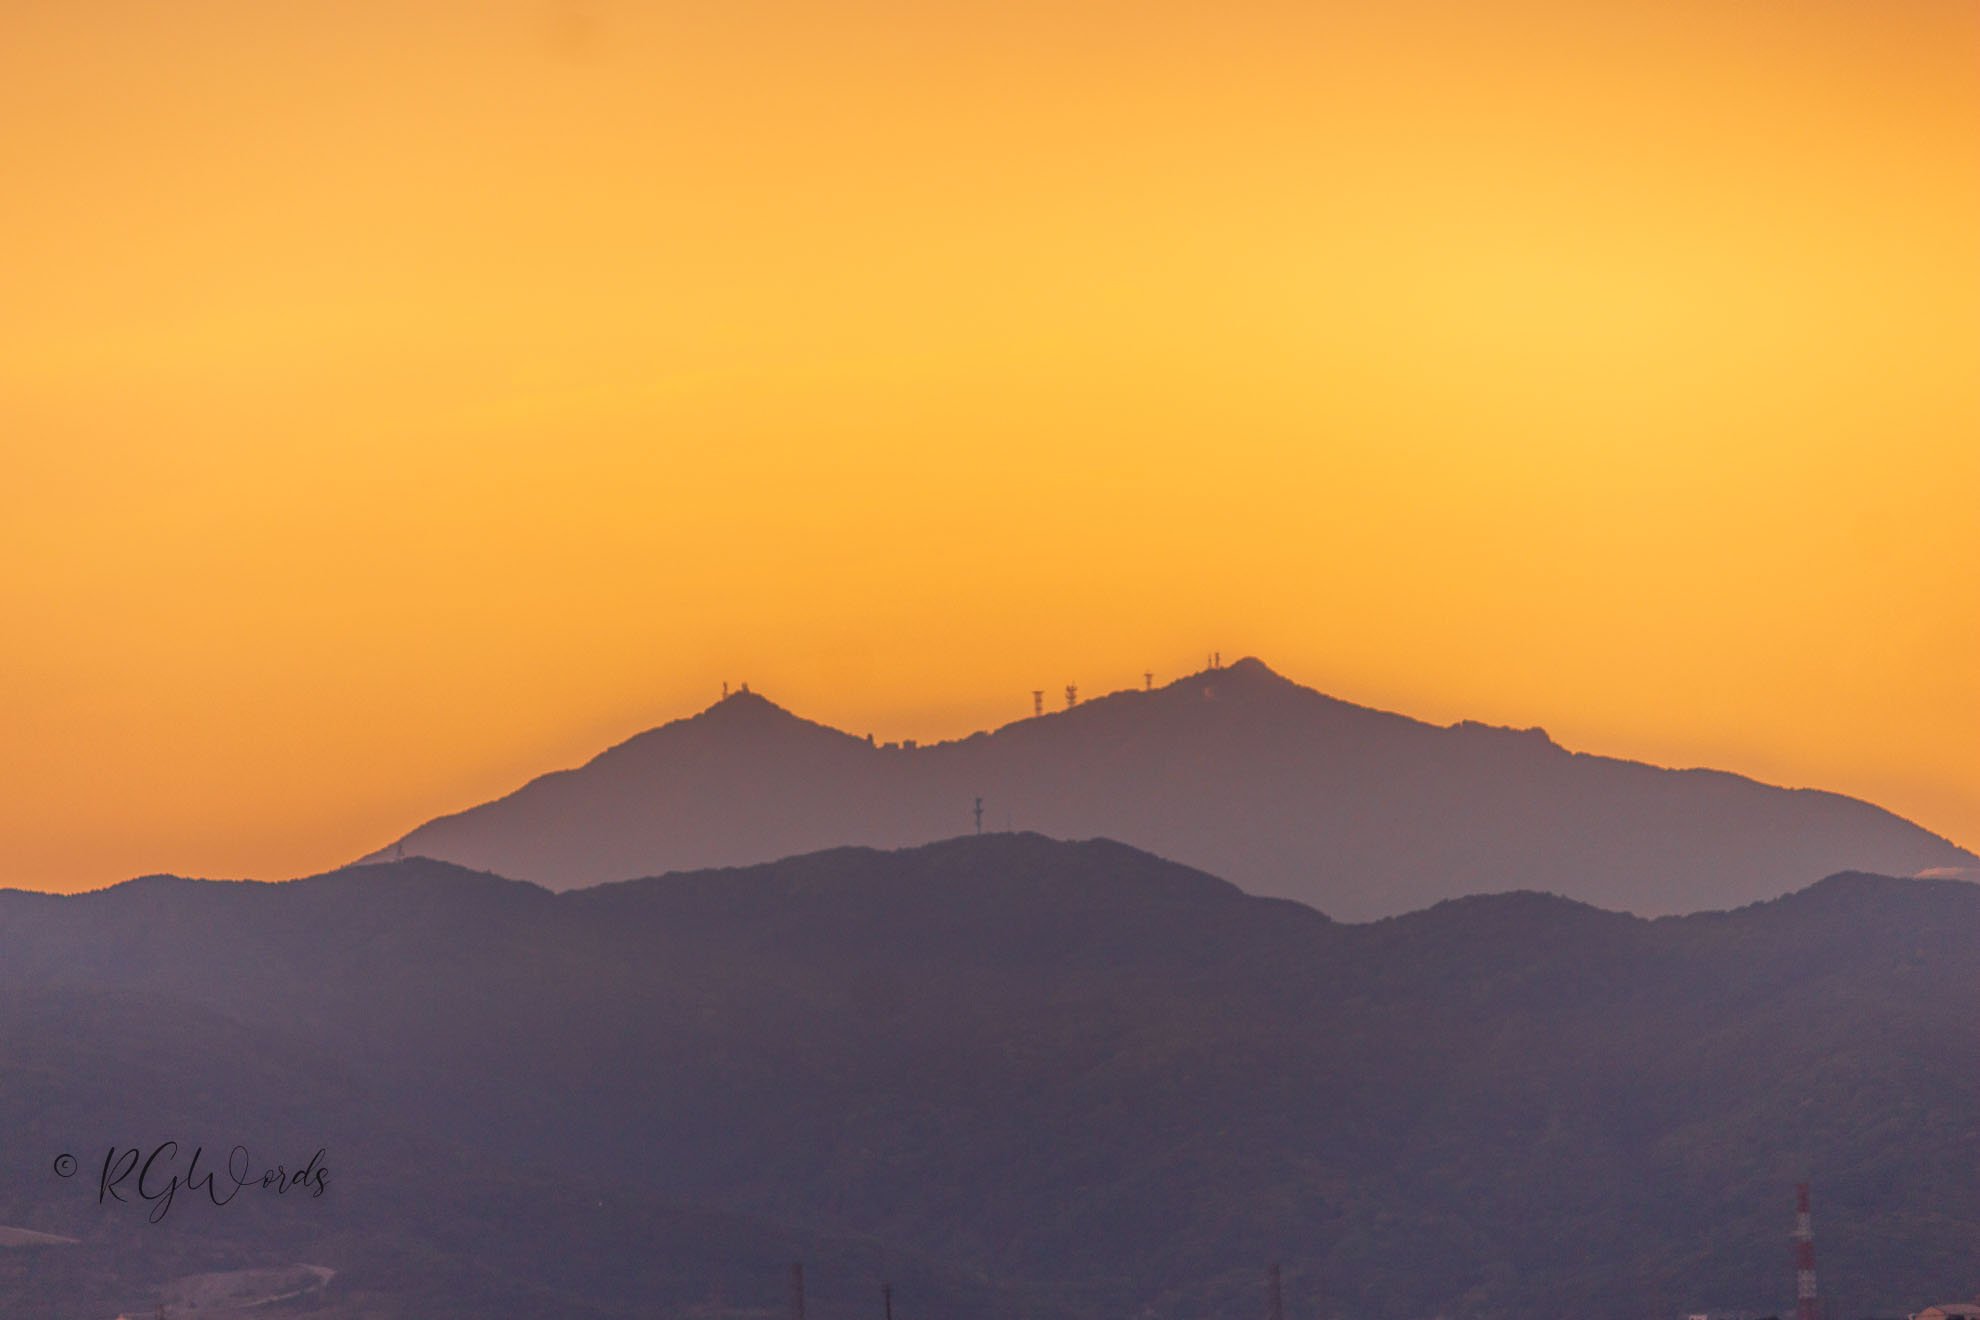
One of my favorite landscape photography experiences was hiking to a mountain to capture a sunrise. The sunrise was breathtaking, but I struggled to capture the scene as I saw it with my eyes. My first few photos were overexposed, and I couldn’t capture the vibrant colors of the sky at all.
After adjusting my couple of sliders (known as exposure triangle but found later), I did manage to capture a gorgeous photo of the sunrise that I still love today. Here are the other best camera setting to improve your landscape photography.
Understanding how to balance these settings can be daunting, but you can achieve perfect exposure every time with the correct understanding and practice. Learn about composition techniques in landscape photography including rule of third, leading lines and more.
In this comprehensive guide, I cover everything you need to know about the exposure triangle in landscape photography. It includes the basics of what it is and why it’s crucial.
It also includes more advanced topics, such as using it to capture motion, adjusting for different lighting conditions, and even post-processing tips for fine-tuning your shots.
Understanding the Exposure Triangle
By now, you might be thinking, what is the Exposure Triangle?
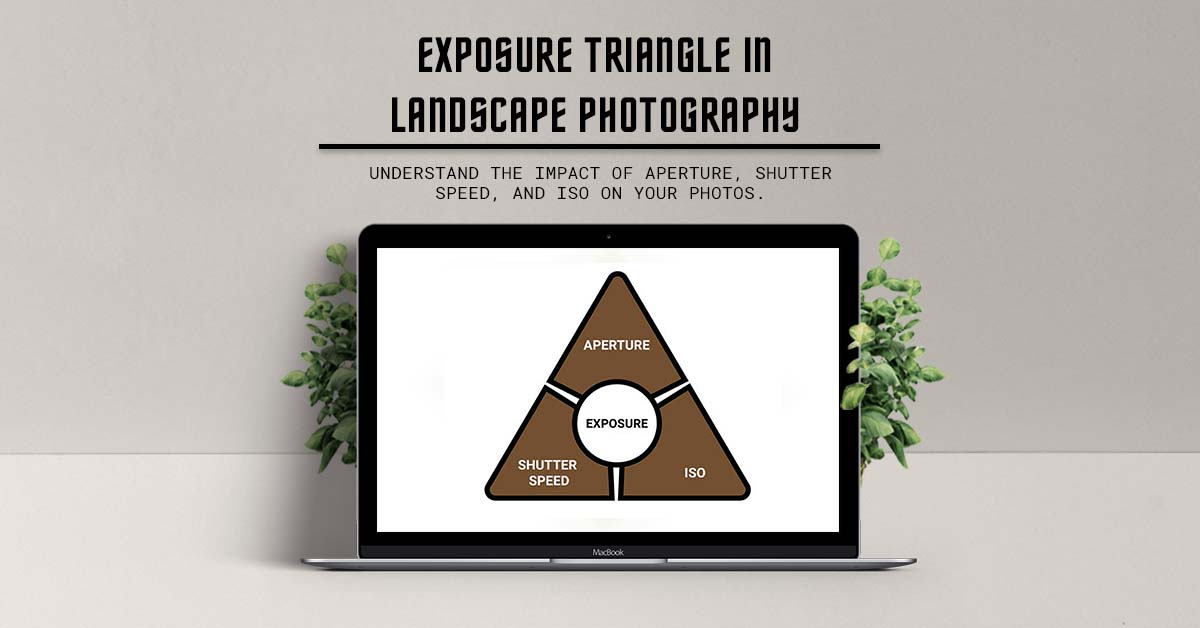
At its core, an exposure triangle is a tool for adjusting the amount of light that enters your camera. In short, Aperture controls the amount of light that enters through the lens, shutter speed controls the duration of time the light enters the camera, and ISO controls the sensitivity of the camera’s sensor to light. By balancing these three elements, you can control the exposure of your image.
So, you also understand these three scary-sounding words are key to great photography. And aperture, shutter speed, and ISO are the three components of the exposure triangle. They work together to determine how much light enters the camera and how the camera’s sensor reads and records this.
The exposure triangle works by balancing these three elements to achieve a properly exposed image. By adjusting one of the elements, the other two need to adjust to maintain the proper exposure.
Check out our recommendation for best camera for landscape photography.
I will explain all three in more detail going further, before that here is another story 🙂
My First Experience
Back in days, I remember visiting a lovely location with a beautiful mountain range in the background and a river flowing in the foreground. Idea was to capture both the mountain range and the river with a long exposure to create a smooth, water-flowing effect.
However, the sunlight was very bright, making it difficult to use a slow shutter speed (like 1/10 to 2 seconds) without overexposing the image. To achieve the desired effect, I adjusted my aperture to a larger f-stop (f11 or f14), my shutter speed to a slower speed (1/5 seconds), and my ISO to a lower number (ISO 100) to reduce noise and also used ND filters to cut more lights.
The final image turned out exactly as I envisioned, with the mountain range in the background and the river flowing smoothly in the foreground.
Mastering the exposure triangle is crucial for creating stunning landscape photos. By understanding how each component works and how they impact the final image, you can adjust them to get the desired effect and capture stunning photos that showcase the beauty of the natural world.
Let’s dive deeper into individual components.
Aperture: The Key to Depth of Field
Aperture refers to the lens opening size through which light enters the camera. It measured in f-stops like f4, f5.6, or f11, with smaller f-stop numbers indicating a larger lens opening and more light entering the camera. The aperture controls the depth of field or the distance range in the image that appears sharp.
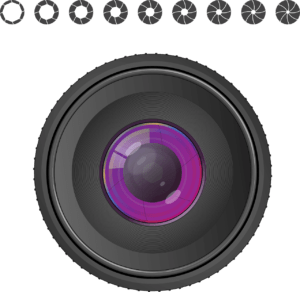 For example, if I photograph a landscape with a wide aperture (such as f/2.8), only the foreground might be in focus while the background appears blurry. On the other hand, if I use a narrow aperture (such as f/16), both the foreground and background will be in focus.
To choose the right aperture for your landscape photography, you need to consider the scene’s depth and the effect you want to achieve.
Photography is a creative art; you can choose to capture it how you like.
For instance, you can use a smaller aperture (higher f-number) to create a sense of depth in your photo. And you can use a larger aperture (lower f-number) to isolate your subject from the background and create a shallow depth of field.
Overall, Mastering this component of the exposure triangle can help you control the depth of field in your photos and make creative decisions about the final look of your images.
Shutter Speed: The Key to Motion Blur
Shutter speed, in simple terms, is the length of time the camera’s shutter is open, allowing light to enter and record on the sensor. It is measured in seconds (like 1 second, 30 seconds) or fractions of seconds (like 1/100 seconds), with faster shutter speeds capturing less light but freezing motion while slower shutter speeds capturing more light but introduce motion blur.
This is my favorite because of the creative possibilities it opens for us. Motion blur can creatively convey movement and add drama to your photos. However, it can also ruin an otherwise great shot if not appropriately used with blurry images.
A few use-cases for shutter speed are,
- Freeze the motion like a bird flying, basketball shorts, or catching the fish.
- Long exposure, such as shooting star trails, silky smooth waterfalls/rivers, or show car motion.
Possibilities are endless with this one tool if you master it. As a landscape photographer, it’s essential to understand how to choose the correct shutter speed to achieve the desired effect in your photos.
A good starting point is to use the reciprocal of your lens’ focal length as your minimum shutter speed. For example, if you’re shooting with a 50mm lens, your minimum shutter speed should be 1/50th of a second.
Note: This is just a guideline, and the optimal shutter speed will depend on the lighting conditions, the movement of the subject, and most important the desired effect. Check out our what is my camera bag.
ISO: The Key to Image Noise
ISO is one of the most important components of the exposure triangle, and it plays a significant role in determining the quality of your landscape photos.
It refers to the sensitivity of the camera’s sensor to light. A higher ISO number (more sensitive) allows the camera to capture more light but can also introduce noise or graininess in the image.
With a higher ISO number, you can also use a faster shutter speed in low-light conditions. However, images can come with little grains or noise, but they are better than no image :-).
Choosing the proper ISO for the situation is important when shooting landscape photos. A lower ISO (such as 100 or 200) is typically sufficient in bright daylight, as plenty of light is available to expose your images correctly. However, you may need to increase your ISO to achieve proper exposure in low-light conditions (such as sunrise or sunset).
In these situations, it’s important to balance ISO and the other components of the exposure triangle to ensure that your photos are properly exposed while maintaining a good level of image quality.
In addition to adjusting ISO for exposure purposes, it can creatively use to achieve a certain aesthetic or mood in your landscape photos.
Explanation of ISO with Example
For example, using a high ISO setting and intentionally allowing for some image noise can create a gritty, textured look that adds character to your photos. Conversely, using a low ISO and achieving a smooth, noise-free image can create a sense of calm and serenity in your landscape photos.
Another example is that you are photographing a serene lake at dusk. The light is low, and you want to capture the subtle colors of the sky reflecting off the water. You can set your aperture to f/8 to ensure that both the foreground and background are in focus. And your shutter speed to 1/30 seconds to capture some of the movement in the water. At ISO 200, chances are your photos are underexposed, so you increase your ISO to 800. This allows you to achieve proper exposure without sacrificing too much image quality. The resulting photo has a bit of image noise, but it also captures the subtle colors and movement of the water, creating a serene and peaceful mood.
Balancing the Exposure Triangle
You got the fundamental, now to time to do enough practice to understand individual parts and, most importantly, balance the exposure triangle’s all three components as a landscape photographer.
For example, if you’re taking a landscape photo on a bright sunny day, you might need to use a smaller aperture (higher f-stop number) to reduce the amount of light entering the camera. This will result in a deeper depth of field, which is often desirable in landscape photography. You may also need a faster shutter speed to compensate for the brightness and prevent overexposure. In this situation, you may need a lower ISO to avoid introducing unwanted noise into the image.
Balancing the exposure triangle can also be used creatively to create stunning landscape photos. For example, a slow shutter speed can make sense of movement in flowing water or clouds. While a fast shutter speed can freeze motion and capture a moment. Similarly, a shallow depth of field (bokeh effect) can create a sense of depth and focus on a specific subject, while a deep depth of field can capture more of the scene in focus. Learn in details how framing using natural elements in landscape photography in combination with exposure triangle will take your photos to next level.
Mastering the exposure triangle takes practice and experimentation to find the right balance for each situation, but the results are well worth the effort.
Exposure Triangle Explain with an Example (Capture Sunrise and Sunset Photos)
Sunrise and sunset are some of the most beautiful times to capture landscape photos due to the colours in the sky, (also knowns as a golden hour or blue hour). However, they can also be some of the trickiest to get right. The lighting conditions can constantly change, and the colors can be intense and vibrant.
 To capture astonishing sunrise and sunset photos
- First, start by adjusting your aperture to control the depth of field. Depending on the scene, you may want a deep depth of field to capture the landscape in sharp focus or a shallow depth of field to blur the background and create a more artistic look.
- Next, adjust your shutter speed to control motion blur. If you photograph a still landscape, use a slower shutter speed to capture the colors and details of the sunrise or sunset. However, if there is movement in the scene, such as waves crashing on the beach or wind blowing through the trees, you may use a faster shutter speed to freeze the action and avoid blur.
- Finally, adjust your ISO to control image noise. Generally, you will want to use a low ISO for sunrise and sunset photography to avoid noise and preserve image quality. However, if you need to increase the ISO to one or two stops to balance the exposure correctly.
Another technique that I will cover in another blog post, having said that in short, is bracketing. This involves taking multiple photos of the same scene at different exposures and then blending them together in post-processing to create a final image with a balanced exposure.
Crash Course about Bracketing in Landscape Photography
Bracketing can help you capture the full range of colors and details in the sky and landscape, even if the lighting conditions change rapidly.
For example, let’s say you are photographing a beautiful sunrise over a mountain range. You want to capture the vibrant colors of the sky and the details of the landscape. As the sun rises higher in the sky, the lighting conditions change, and the colors become more intense. You start bracketing your photos to capture these changes, taking multiple shots at different exposures. Like
- One photo at the original exposure,
- One at a faster shutter speed to capture the details of the landscape, and
- One at a slower shutter speed to capture the colors of the sky.
In post-processing, you blend the photos together to create a final image with a balanced exposure. The result is outstanding if it’s done correctly. This is also very famous since darkroom photo days.
Different Shooting Mode in the Camera based on the Exposure triangle
In addition to manually adjusting the aperture, shutter speed, and ISO, most cameras offer different shooting modes that automatically adjust these settings based on the lighting conditions and desired outcome. Here are some of the most common camera modes based on the exposure triangle method:
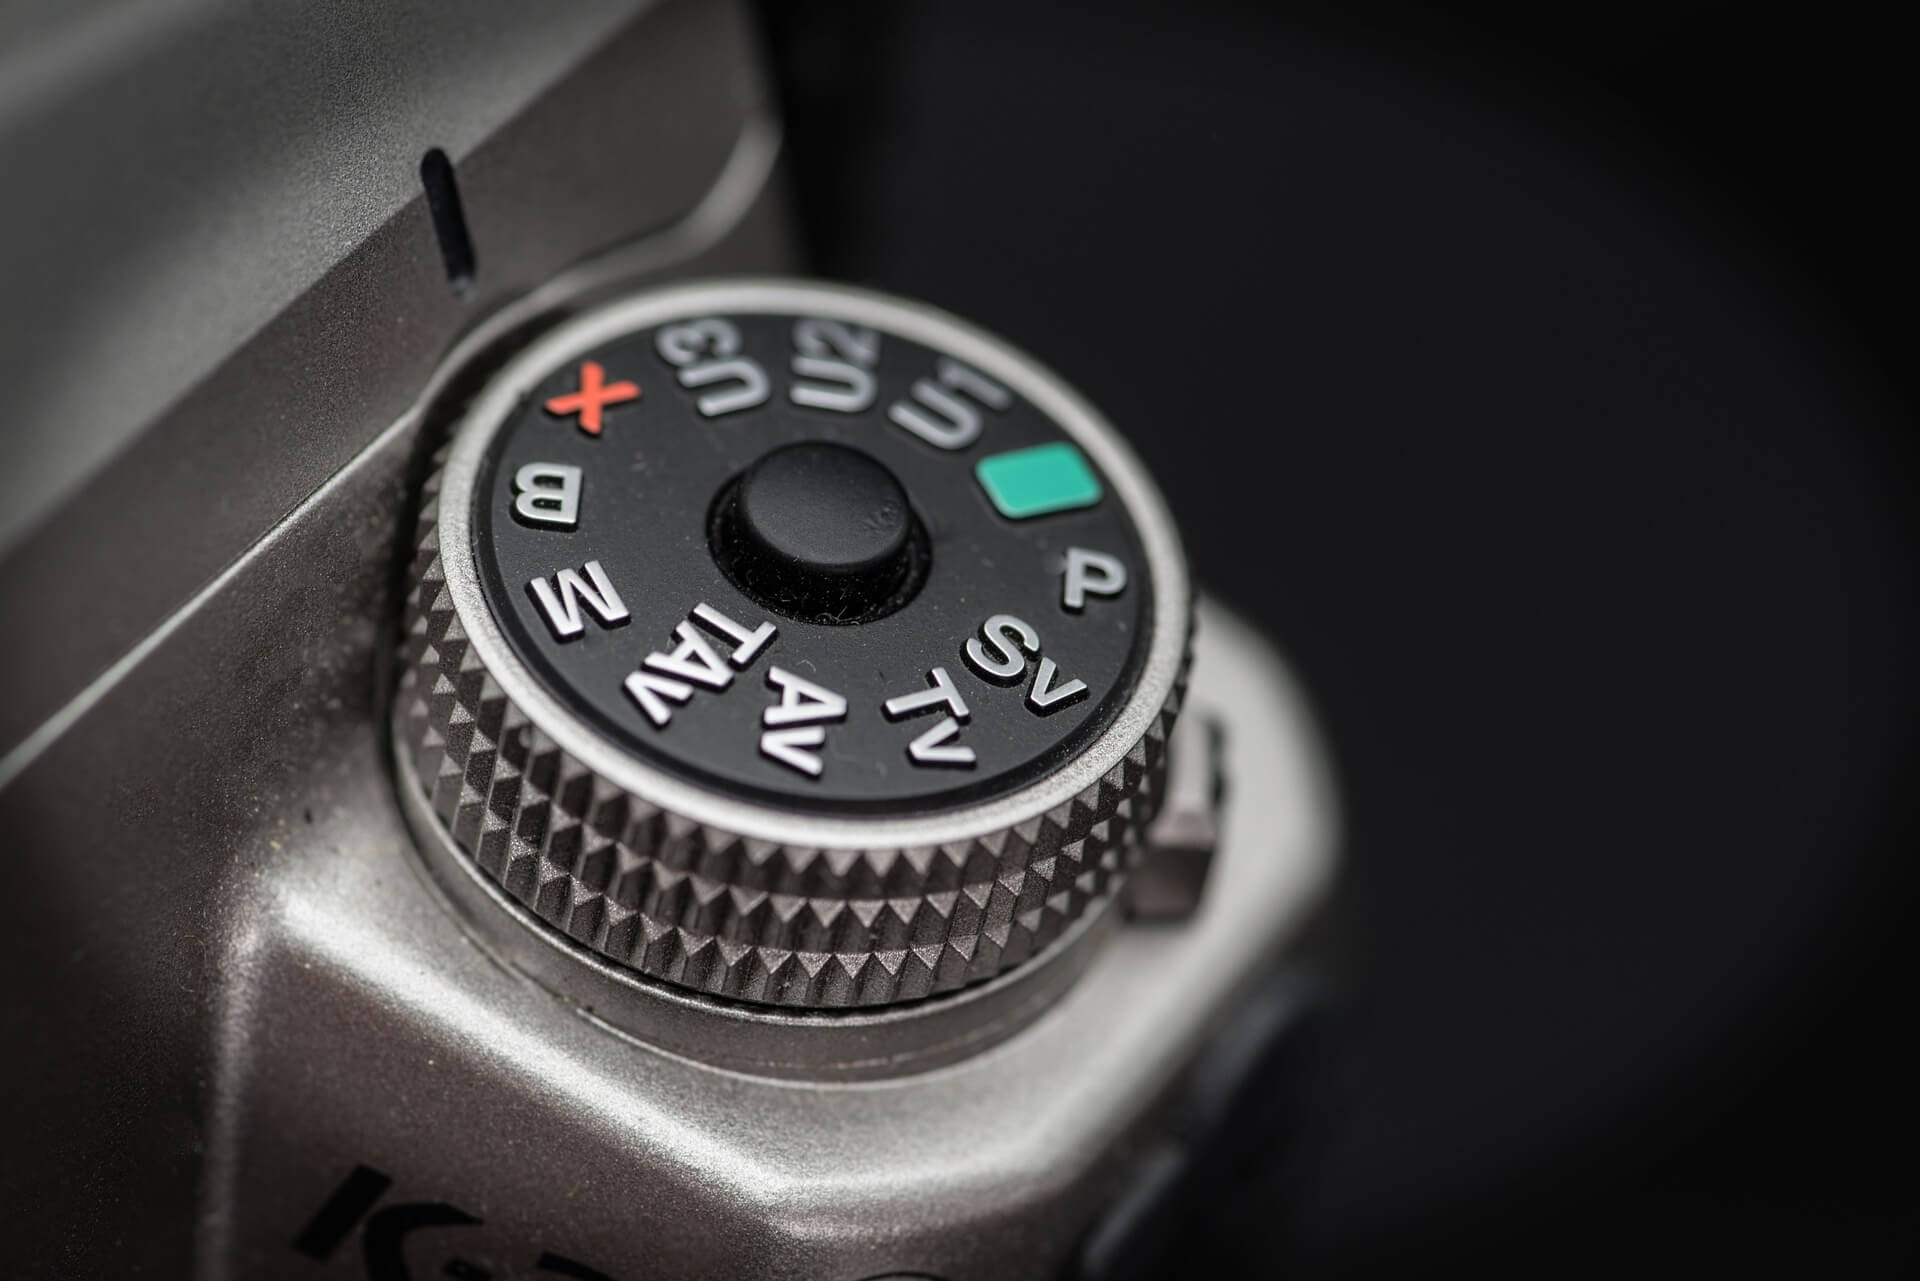
- Program mode (P): The camera automatically sets the aperture and shutter speed while allowing the photographer to adjust the ISO manually. This is an excellent mode to use when you want some control over the ISO but still want the camera to handle the other exposure settings.
- Aperture priority mode (A or Av): In this mode, you manually sets the aperture, and the camera automatically sets the shutter speed and ISO to achieve proper exposure. This mode is useful when you want to control the depth of field in your photos.
- Shutter priority mode (S or Tv): In this mode, you manually sets the shutter speed, and the camera automatically sets the aperture and ISO to achieve proper exposure. This mode is useful when controlling the motion blur in your photos.
- Manual mode (M): In this mode, you manually sets all three exposure settings – aperture, shutter speed, and ISO. This mode provides the most control over the exposure but requires some knowledge and experience to use effectively.
I recommend experimenting with different modes and settings to see which ones work best for lighting conditions and situations.
Common Mistakes to Avoid When Using the Exposure Triangle
As a landscape photographer, understanding the exposure triangle is essential for capturing stunning and well-exposed photographs. However, even experienced photographers can make mistakes when using the exposure triangle. In this section, I will share some common mistakes to avoid based on my own experience,
- Overexposure or Underexposure: One of the most common mistakes is overexposing or underexposing your photos, and as a result, the image is either too bright or too dark. It’s essential to check the histogram and adjust your settings to get proper exposure.
- Wrong ISO Setting: Another common mistake is using the wrong ISO setting for lighting conditions. A high ISO can lead to image noise, while a low ISO can result in a dark image. Always check your ISO setting and adjust accordingly.
- Incorrect Depth of Field: Aperture plays a crucial role in determining the depth of field in your landscape photos. Choosing the wrong aperture can result in an image that’s too blurry or sharp.
- Inappropriate Shutter Speed: Similarly, using the wrong shutter speed can result in motion blur or a frozen image. Adjusting your shutter speed based on the subject and your desired effect is crucial.
- Ignoring the Lighting Conditions: Finally, ignoring the lighting conditions can lead to incorrect exposure settings. It’s important to consider the lighting conditions and adjust your exposure triangle settings accordingly.
Mistakes are part of the learning ad creative journey. Please don’t hesitate to do one, and don’t forget to share it with us and others.
Conclusion
In conclusion, understanding the exposure triangle is essential for creating spectacular landscape photos. By mastering the three components of the exposure triangle, you can achieve proper exposure. It also helps to capture the mood and atmosphere of the scene, and use creative techniques to enhance your photos. Remember to balance the exposure triangle and avoid common mistakes to achieve the best results.
I encourage you to practice and experiment with the exposure triangle. Feel free to adjust your settings and try new techniques to create unique and captivating landscape photos.
With a patience and creativity, you can use the exposure triangle to capture the beauty of nature in your photos.
FAQ : Exposure Triangle In Landscape Photography
What is the exposure triangle?
The exposure triangle is a concept in photography that refers to the relationship between aperture, shutter speed, and ISO, and how they work together to control the exposure of an image. It’s a fundamental principle in photography that every photographer should understand.
How do I balance the exposure triangle?
To balance the exposure triangle, you need to adjust the settings of aperture, shutter speed, and ISO to achieve the proper exposure for your photo. You can start by using the camera’s metering system, which will give you a good starting point. Then, you can make adjustments based on your creative vision and the lighting conditions of the scene.
What is the best aperture for landscape photography?
The best aperture for landscape photography varies depending on the scene and your creative vision. However, a good starting point is to use a small aperture, such as f/11 or f/16, to achieve a large depth of field and ensure that everything in the scene is in focus.
What is the best shutter speed for landscape photography?
The best shutter speed for landscape photography varies depending on the scene and the effect you want to achieve. However, a good starting point is to use a shutter speed of around 1/30th of a second to capture motion blur in water or clouds, or a faster shutter speed of around 1/125th of a second to freeze motion in a scene.


