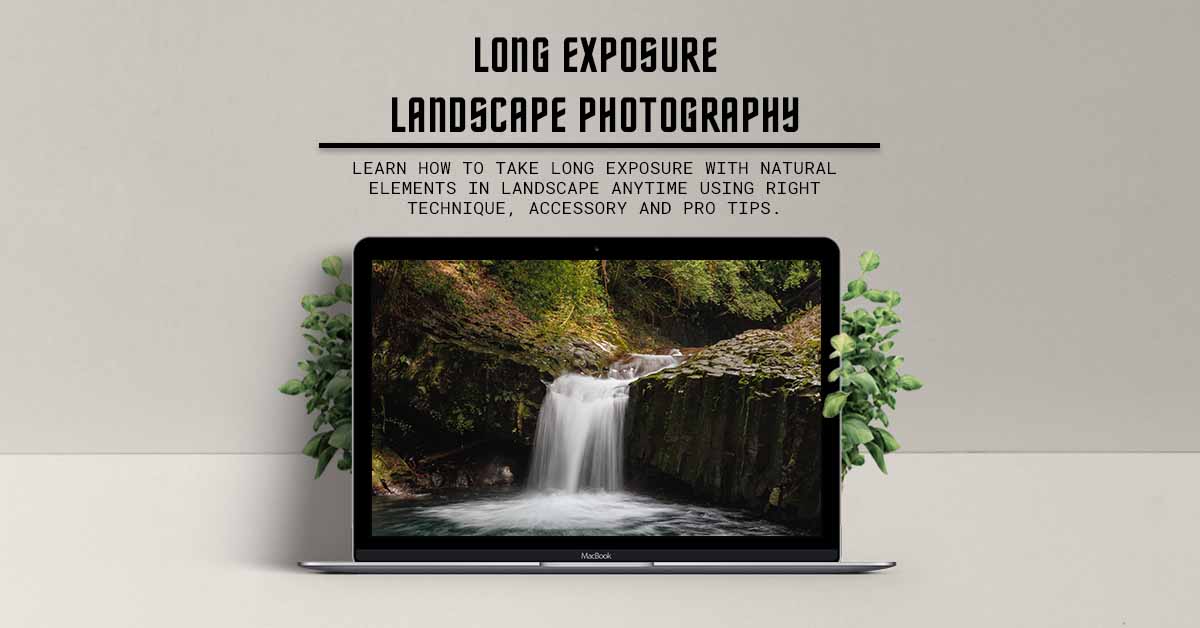
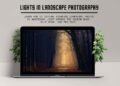
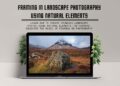
Have you ever seen a photograph that perfectly captures a landscape’s essence so perfectly that it seems to transport you to that place? If so, chances are it was taken using long exposure photography.
Long exposure landscape photography is a technique that involves leaving the camera’s shutter open for an extended period of time, allowing light to capture over a longer period. This creates unique and stunning images that capture the beauty of the landscape in a way that the human eye cannot see.
Understanding long exposure photography is important for any landscape photographer who wants to add one more creative skill to enhance their work. With the right techniques and equipment, long exposure photography can help capture stunning landscape shots in both daytime and nighttime. Know more about importance of different light in landscape photography.
In this blog post, I will cover everything you need to know about long exposure landscape photography. From the basics of the technique to advanced techniques and tips from pro photographers, I’ve got you covered. By the end of this post, you will have a deep understanding of long exposure photography and be ready to challenge yourself once again.
Understanding Long Exposure Photography
What is long exposure photography?
Long exposure photography is a technique that involves using a slow shutter speed to capture a stationary subject while also capturing any movement that is occurring in the frame. This creates a blurred effect, often giving a dreamlike quality to the photograph.
Why is it popular in landscape photography?
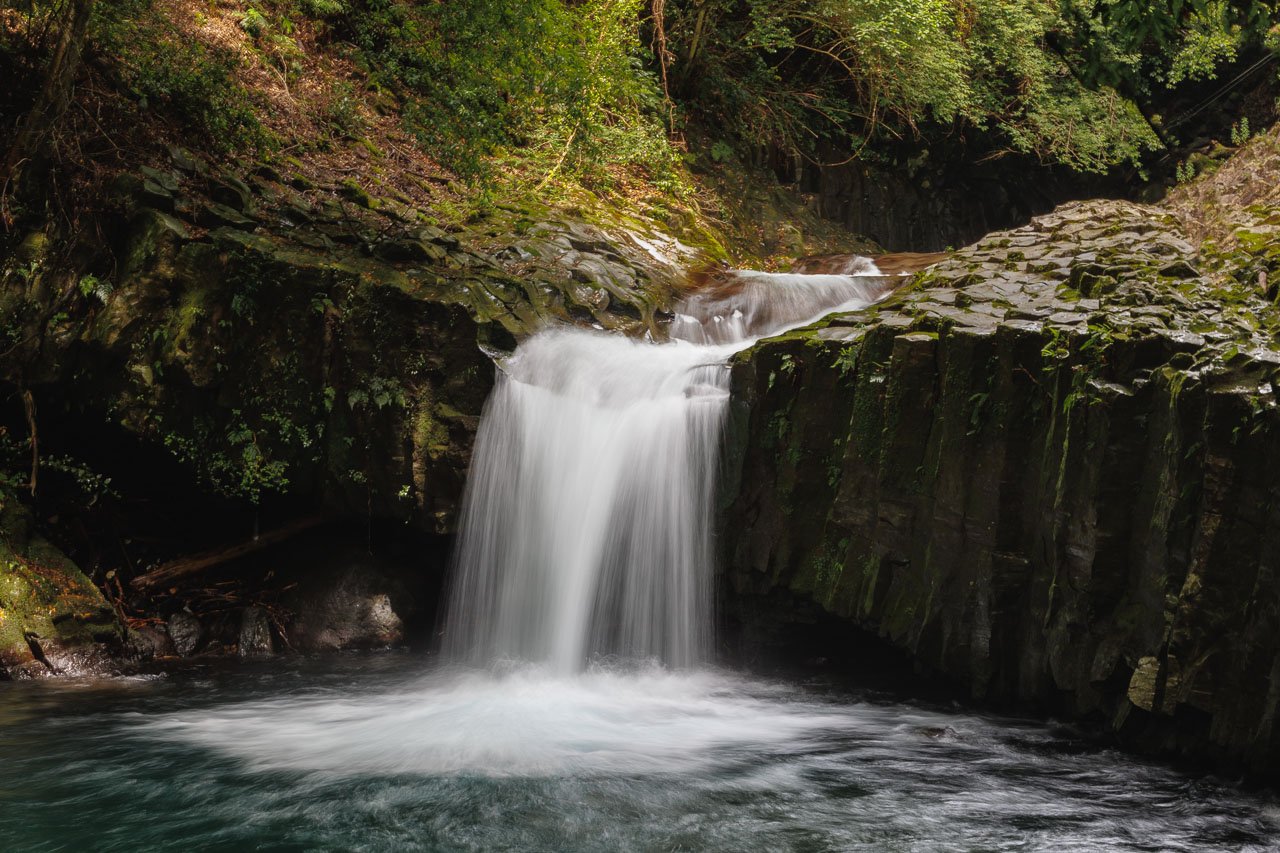
Long exposure photography is popular in landscape photography because it can capture movement in clouds, waterfalls, and other natural elements. The resulting images can be stunning and unique, capturing a moment that is impossible to see with the naked eye.
How to achieve a long exposure shot?
You need to use a slow shutter speed to achieve a long exposure shot. This allows the camera’s sensor to capture light over an extended period, resulting in a longer exposure. To stabilize the camera, you may need to use a tripod or other stabilizing device to prevent camera shake.
Examples of stunning long exposure landscape photos
Here are a few examples of stunning long exposure landscape photos:
- A waterfall with a soft, flowing effect
- A starry night sky with blurred stars
- A coastal scene with blurred waves
- A landscape with streaks of light from passing cars
Understanding the basics of long exposure photography is first step to mastering this technique and capturing amazing landscape shots.
👋Click Here To Join RGWords Travel and Photography Newsletter!!
Essential Equipment for Long Exposure Photography
Long exposure photography requires some specific equipment to get the best result. Here are the essential pieces of equipment that you will need for long exposure landscape photography:
Camera and Lens
Of course, you will require a camera. Your camera is the most important piece of equipment for any photography, and long exposure photography is no exception. Look for a camera with manual settings that will allow you to control the exposure time, aperture, and ISO.
A wide-angle lens is ideal for capturing landscapes. It allows you to fit more of the scene into the frame and creates a sense of depth in the image. A lens with a low aperture (f/2.8 or lower) is better for capturing more light in low-light situations. Understand in detail about lens and focal length for landscape photography.
Check out for rgwords recommendation for best camera for landscape photography and choose carefully.
Tripod and Shutter Release Cable
A sturdy tripod is essential for stabilizing your camera while the shutter is open for a long period. It prevents camera shake and ensures that your images are sharp. Ensure a tripod is enough weight capacity to support your camera and lens.
A shutter release cable is also essential for minimizing camera shake. It allows you to trigger the shutter without physically touching the camera. Alternatively, you can also use a 2 or 10 seconds timer in your camera.
Filters and Accessories
Filters are essential for controlling the amount of light that enters the camera during the long exposure. Neutral density filters reduce the amount of light that enters the camera, allowing you to use longer shutter speeds in bright conditions. Graduated neutral density filters help balance the exposure between the sky and the landscape.
And other accessories for long exposure photography that can enhance your experience are a hood for camera lens, remote timer, flashlight, food, and extra batteries.
Additional Gear for Night Photography
If you plan on capturing long exposure landscape photos at night, you will need additional gear. A headlamp or flashlight will help you navigate in the dark. Warm clothing, gloves, and hand warmers will keep you comfortable during cold nights. A red filter for your flashlight can help preserve your night vision while you set up your shot.
 Techniques for Long Exposure Photography
Long exposure landscape photography requires certain techniques and a lot of practice to produce stunning results. Here are some fundamental techniques that every photographer should know:
Choosing the right aperture, shutter speed, and ISO
One of the critical aspects of long exposure photography is setting the right exposure. When you’re shooting in low light conditions, you’ll need to open up your aperture and slow down your shutter speed. This allows more light to enter the camera and produce a well-exposed image. However, balancing the exposure with the ISO is essential to avoid overexposure or underexposure.
Focusing Techniques (manual focus, hyperfocal distance)
Focusing is another critical aspect of long exposure photography. It’s essential to ensure that the subject is in focus and the image is sharp. When shooting in low light conditions, it’s best to use manual focus as autofocus can struggle to find the subject. Hyperfocal distance is another focusing technique that is useful for landscape photography. It involves focusing on a point that maximizes the depth of field and keeps the subject and background in focus.
Utilizing the histogram
The histogram is a graphical representation of the tonal range of an image. It shows the distribution of light and dark tones in the image. By checking the histogram, you can ensure that the image is well-exposed and avoid overexposure or underexposure.
Composition techniques for long exposure shots
Composition is crucial in landscape photography and is no different in long exposure photography. Some composition techniques that work well for long exposure shots include:
- Using leading lines to draw the viewer’s eye into the frame
- Utilizing the rule of thirds to create a balanced composition
- Experimenting with different angles and perspectives to create a unique shot
Examples of techniques in landscape photography
Here are some examples of techniques used in long exposure landscape photography:
- Blurring water to create a smooth, dreamy effect
- Capturing star trails by leaving the shutter open for an extended period
- Using neutral density filters to create a long exposure during the day
Advanced Long Exposure Techniques for Landscape Photography
Let me share a few advanced techniques which are not difficult to master; however, they can significantly improve the long exposure photographs.
- Focus Stacking: This technique involves taking multiple shots of the same scene at different focus points and then blending them together in post-processing either in Lightroom or Photoshop. This technique is especially useful for landscape photography, where you want to keep both the foreground and background in focus.
- Multiple Exposure Blending or Bracketing: This technique involves taking multiple shots of the same scene at different exposure settings and then blending them together in post-processing. This technique helps capture and create a wider range of dynamic range (HDR) in a scene, especially during sunrise and sunset, where the light changes rapidly.
- Light Painting: This technique involves using a flashlight or another light source to selectively light up parts of a scene during a long exposure shot.
- Star Trails: This technique involves taking a long exposure shot of the night sky to capture the movement of stars over time. This technique can create stunning and surreal images of the night sky.
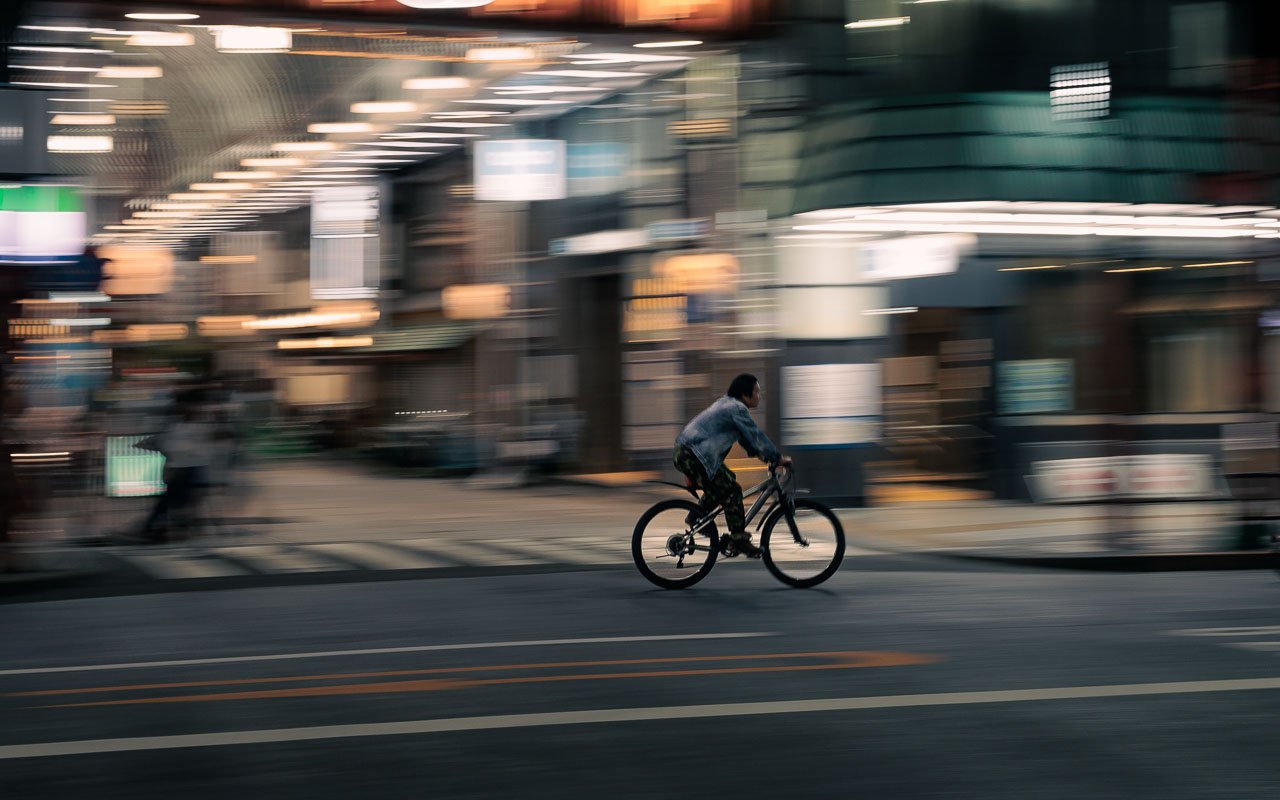
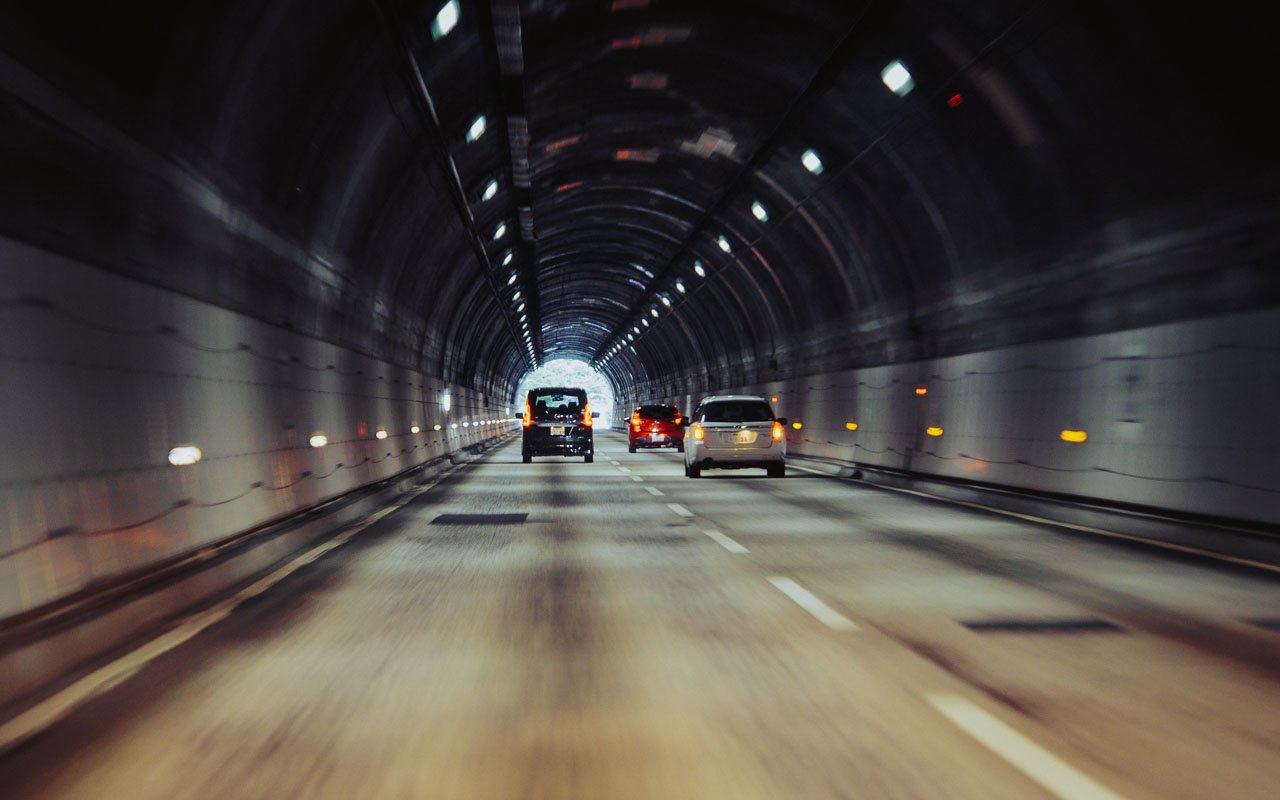
- Capturing Motion (waves, clouds, traffic): This technique involves using long exposure to capture the movement of elements in a scene, such as waves, clouds, or traffic. This technique can create a sense of movement and add interest to your landscape shots.
Tips for Long Exposure Landscape Photography
Long exposure landscape photography is a unique and creative way of capturing spectacular landscape images. With the proper techniques and equipment, you can capture a truly breathtaking image that uniquely showcases the beauty of nature.
Let me discuss some tips that can help you capture amazing long exposure landscape photos.
Look for dynamic elements in the landscape
Dynamic elements such as waterfalls, rivers, clouds, and trees can add a sense of motion and movement to your long exposure photos. These elements can create a sense of depth and add interest to your images.
Experiment with different shutter speeds
Experimenting with different shutter speeds can help you create different effects in your images. For example, a longer shutter speed can create a smooth and silky effect on water, against a shorter shutter speed can capture motion and create a sense of movement.
Use a neutral density (ND) filter
A neutral density (ND) filter is a must-have accessory for long exposure landscape photography. It helps reduce the amount of light entering the lens, allowing you to use longer shutter speeds without overexposing the image. This will enable you to capture images with the desired exposure and depth of field.
Include foreground interest
Including foreground interest in your images can add depth and interest to your photos. Foreground elements such as rocks, flowers, and trees can create a sense of scale and provide a point of interest for the viewer.
Use a remote shutter release
Using a remote shutter release can help reduce camera shake and blur in your images. It also allows you to take photos without touching the camera, which can cause vibrations and blur.
By following these tips, you can take your long exposure landscape photography to the next level and capture next great images that uniquely and creatively showcase nature’s beauty.
Pro Tips for Long Exposure Photography
Once you understand and practice all techniques and tips shared earlier, now time to increase the level. Here are a few pro tips for long exposure landscape photography photography
Plan your shoot in advance
Before heading out for a long exposure landscape photography session, planning your shoot in advance is important. Check the weather forecast, research the location you plan to shoot, and determine the best time of day to capture your desired shots. Planning will help you make the most of your time and increase your chances of capturing stunning photos.
Experiment with different filters
Filters are essential for long exposure landscape photography, and experimenting with different filters can help you achieve different effects. As Neutral density (ND) filter is your best friend in bright daylight; similarly, Graduated ND filters can help you balance the exposure between the sky and foreground. Polarizing filters can reduce glare and enhance colors.
Best time of day for long exposure photography
The best time of day for long exposure photography varies depending on the type of shot you want to capture. Generally, the golden hour (the hour after sunrise and the hour before sunset) is ideal for capturing warm and soft light, while the blue hour (the hour before sunrise and the hour after sunset) is ideal for capturing cool and moody tones. However, you can take long exposure shots in the middle of the day, particularly when using ND filters.
Shooting in challenging weather conditions
My personal favorite thing is shooting long exposure in challenging weather conditions, such as very cloudy or rainy. To keep your camera stable, use a sturdy tripod and consider adding weight to the tripod. Consider using a rain cover for your camera and lens in rainy conditions. Try to shield your camera from the wind in windy conditions by using natural barriers or a windbreak.
Patience is key
Long exposure landscape photography requires patience and persistence.
The perfect shot may not come on the first attempt,
so be prepared to spend time experimenting with different settings and compositions. Don’t be afraid to take multiple shots of the same scene and review them later to determine which ones are the strongest.
Long Exposure Photography During the Day
Long exposure photography is not just limited to low-light or nighttime shooting. With the proper techniques and equipment, you can also capture stunning long exposure shots during the day. In this section, I will discuss how to capture beautiful long exposure shots during the day, what to remember, and some long exposure photography ideas for daytime shots.
Adjusting the shutter speed in daylight
When shooting long exposures during the day, you’ll need to adjust your camera settings to compensate for the extra light. One way to do this is to use a smaller aperture and a lower ISO setting. This will help reduce the amount of light entering the lens and allow you to use a longer shutter speed. Another way to adjust your exposure settings is by using a neutral density (ND) filter. An ND filter blocks out light, allowing you to use a slower shutter speed without overexposing the image.
Creating a Sense of Movement in Still Scenes (trees, rocks, waterfalls)
It can also use to create a sense of movement in still scenes. For example, shooting a waterfall with a long exposure will create a smooth, silky effect on the water. Similarly, shooting trees or rocks with a long exposure will create a sense of motion in an otherwise still scene.
Examples of stunning long exposure landscape photos taken during the day
 Long Exposure Photography Ideas for Daytime Shots
- Beach and Coastal Landscapes andscapes provide great opportunities for long exposure photography during the day. The movement of waves crashing onto the shore can be captured in a long exposure, creating a beautiful, dreamy effect.
- Waterfalls and Rivers are classic subjects for long exposure photography. Water movement can be captured in a long exposure, creating a smooth, silky effect.
- Capturing long exposures of clouds and skies can create a beautiful, ethereal effect. The movement of clouds can be captured in a long exposure, creating a surreal, dreamlike effect.
- Cityscapes and Architecture can also provide great opportunities for long exposure photography during the day. The movement of people and traffic can be captured in a long exposure, creating a sense of motion in an otherwise still scene.
With these long exposure photography ideas, you can capture stunning and unique photos during the day.
👋 Click Here To Join RGWords Travel and Photography Newsletter!!
Night Long Exposure Photography
Night photography is challenging for many photographers, but you can capture stunning long exposure shots with the right equipment and techniques. Here are some tips for shooting long exposures at night:
Necessary Equipment for Night Photography
- Camera with manual settings and bulb mode
- Wide-angle lens with a low f-stop (f/2.8 or lower)
- Tripod to keep the camera steady
- Remote shutter release cable or intervalometer
- Flashlight to help you see in the dark
- Extra batteries and memory cards
How to Focus in Low Light Conditions
Focusing in low light can be tricky, but here are some tips to help you get sharp photos:
- Use manual focus and set your lens to infinity.
- If you have trouble finding infinity, focus on a distant light source, like a streetlight or the moon.
- Use a flashlight to light up your subject and help you focus.
How to Photograph the Milky Way with Long Exposure
Photographing the Milky Way requires dark skies and a long exposure time. Here’s how to do it:
- Find a location with little to no light pollution.
- Use a wide-angle lens and a low f-stop (f/2.8 or lower).
- Set your camera to manual mode and focus to infinity.
- Use a long exposure time, starting with 20-30 seconds and adjusting as needed.
- Experiment with different ISO settings to find the right balance of exposure and noise.
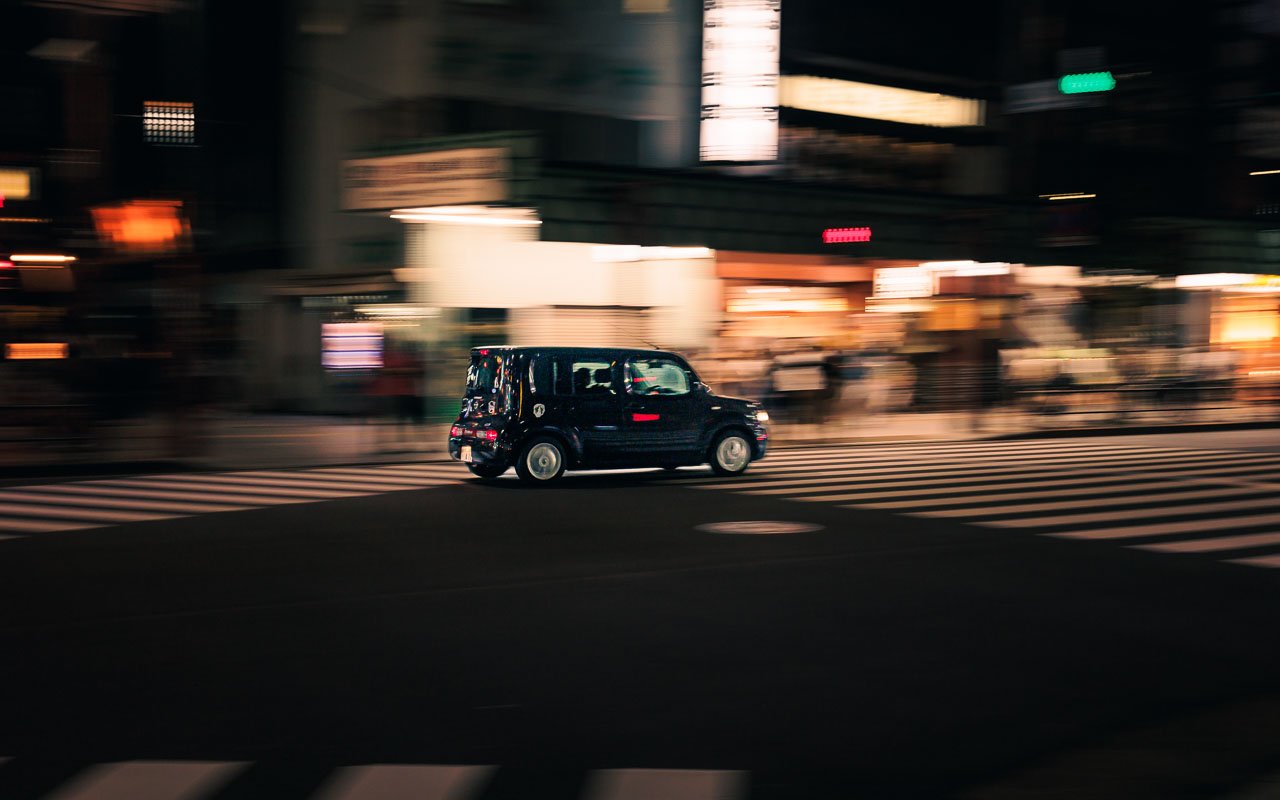
Examples of Stunning Night Landscape Photos
Here are some examples of stunning night landscape photos that were taken using long exposure:
Techniques for Shooting Long Exposures at Night
- Use a tripod to keep your camera steady.
- Use a remote shutter release cable or intervalometer to minimize camera shake.
- Experiment with different shutter speeds to capture the right amount of light.
- Consider using a flashlight or other light source to add interest to your scene.
Points to Remember for Capturing Incredible Night Landscapes
- Plan your shoot in advance and scout locations during the day.
- Be prepared with the right equipment and extra batteries.
- Take test shots to check your exposure and focus.
- Experiment with different compositions and techniques to create unique and stunning photos.
 Post-processing for Long Exposure Landscape Photography
It is a big topic, and I will share it in detail separately.having said that, let me share few key steps to follow. After you’ve captured stunning long exposure photos, it’s time to edit them to bring out their full potential. Let me cover some essential post-processing techniques to enhance your long exposure landscape photography.
Importing and Organizing Photos
Before you start editing your long exposure photos, it’s essential to organize them properly. Start by importing your photos to your preferred editing software. Adobe Lightroom is a popular choice for many photographers, including myself, as it allows for efficient organization and editing of photos. Check which tool (adobe Lightroom vs Photoshop) is best for your use case.
Create a new catalog for your long exposure photos or add as a collection in Lightroom. Be sure to rename the files with descriptive names to help you identify them later. Use keywords and tags to make it easier to search for specific photos later.
Basic Adjustments in Lightroom
The first step in post-processing your long exposure photos is to make some basic adjustments. Start with the exposure, contrast, highlights, and shadows. These adjustments help bring out the details and tones in your photo.
Next, adjust the white balance to ensure your photo’s colors look natural. You can also use the vibrance and saturation sliders to enhance the colors in your photo without making them look too artificial. Use IPTC module to add metadata in your image. You can find detailed guide how to add IPTC metadata using Lightroom and make your copyright protected.
Advanced Techniques in Photoshop
For more advanced editing techniques, Adobe Photoshop is a powerful tool for creating stunning long exposure landscape photos.
One popular technique is to blend multiple exposures to create an HDR image. This technique involves taking multiple exposures of the same scene at different shutter speeds and blending them together to create an image with a wider dynamic range.
Another technique is to use layer masks to blend multiple images together seamlessly. This technique can be used to create composite images, such as blending a starry sky with a landscape photo. Use copyright module to add metadata in your image. You can find detailed guide how to add IPTC metadata using Adobe Photoshop and make your copyright protected.
Presets and Plug-ins for Long Exposure Photography
This can save time and help you achieve a specific look for your long exposure photos. Presets are pre-defined editing settings that can be applied to your photos with a single click.
There are also many plug-ins available that offer more advanced editing features, such as noise reduction, sharpening, and color grading. Some popular plug-ins for long exposure photography include Aurora HDR, and Luminar AI. You can follow detail guide to install preset in Lightroom.
Examples of Before-and-After Photos
To get an idea of how post-processing can enhance your long exposure landscape photos, here are some examples of before-and-after photos:
- Before: A flat, underexposed long exposure shot of a waterfall.
- After: A vibrant, well-exposed long exposure shot of the same waterfall with enhanced colors and contrast.
- Before: A cluttered, distracting long exposure shot of a cityscape.
- After: A clean, well-composed long exposure shot of the same cityscape with the foreground interest included.
With the right post-processing techniques, you can take your long exposure landscape photography to the next level. Remember, post-processing should enhance your photos, not overpower them.
Conclusion
Long exposure landscape photography is a captivating art form that requires patience, technique, and the right equipment. In this blog post, I covered the fundamentals of long exposure photography, the essential equipment you need to get started, and advanced techniques for capturing stunning landscape shots.
Remember to experiment with different techniques and equipment to find your own unique style. Don’t be afraid to explore new locations, subjects, and lighting conditions. With practice and persistence, you’ll be able to master the art of long exposure landscape photography and capture breathtaking photos.
Now it’s your turn! Share your long exposure landscape photos on social media with the hashtag #longexposurelandscapephotography and inspire others to take on this fascinating challenge.
Happy shooting!


